Creating A Push Notification Server with ASP.NET And Xamarin.Form App With Firebase Push Notification, Refit, And LiteDB - Part 1 (Firebase Configuration)
This is going to be a series of articles, we are going to explain and develop a single Mobile Application and its respective backend that will handle all operations needed.
The application is a proximity geolocation alert application that notifies people close on a defined ration specified by the user who published the issue.
The mobile app work for Android and IOS and is developed using Xamarin.Forms.
What do we you need to make it possible?
- Visual Studio 2015 or higher
- Basic knowledge of C#
- Google Developer Account
- Apple Developer Account
- Basic knowledge of Xamarin.form and cross-platform
Let's start!
In this first article, we are going to focus on the configuration of our application on the Google Firebase Console.
First, we are going to create the set up to be able to use Firebase on our Mobile and ASP.NET Backend API.
Login to the Firebase Console (https://console.firebase.google.com/) if you don't have an account yet, just create a Gmail account and go to the link showed fist in this paragraph.
Create a new project or choose one it is already created.
Now inside the project already created, we are going to start with the Android configuration:
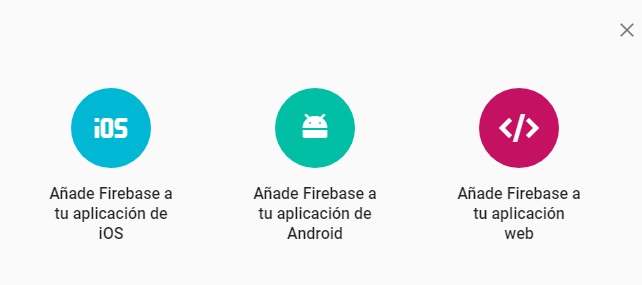
Now, we are going to see a screen like the one below then let's choose Add Android to Firebase to start.
Now a wizard is shown and we are able to see a screen like shown below, we write the name of the package of our application and click on the button Register the Application.
On next step, we are going to see a screen like shown below, just click on the button and download a JSON file once finished let’s click on button Continue.
Now let's put the file already downloaded on the root of our android project and on the property section we are going to mark the build action as "GoogleServicesJson".
On next step, we just click on button Finish and the configuration for our Android app is done on the Firebase Developer Console.
Now let's start with IOS configuration:
Click on the IOS bundle identifier button.
A window like below is shown, just add the IOS Bundle Id and nickname, then click on Register App.
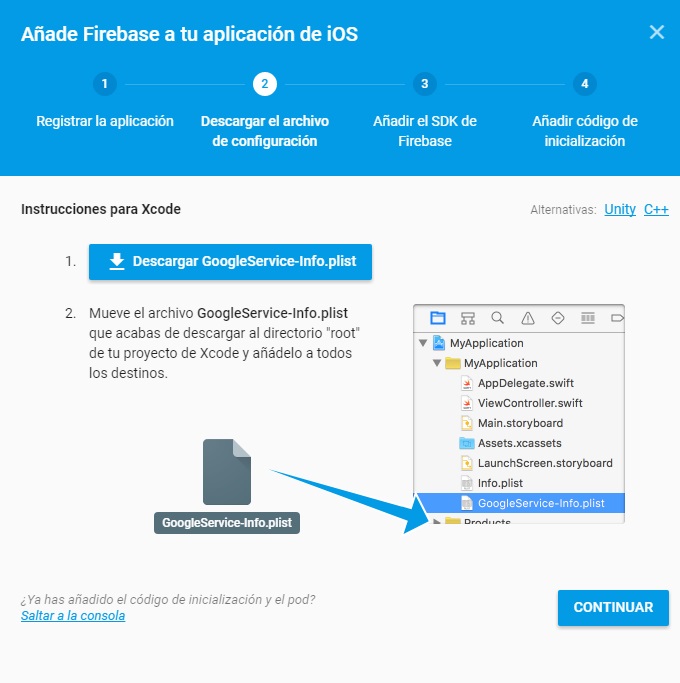
On the next window shown below, click on the download button to get the file "GoogleService-Info.plist", put that file on the root of your IOS project and the build action must be BundleResource.
Now we have to configure the APN with FCM, just follow the instructions of this link: https://firebase.google.com/docs/cloud-messaging/ios/certs
Once finished, just upload iOS certificate/auth token on Settings at the Cloud Messaging section.
Now our app is ready to receive notification from Firebase.
Let’s get the access to send notifications with ASP.NET, go to settings and clicks on Cloud Message and there copy the server key:
In the next article, I will show you how to configure the app to use the configuration we already did.
Comments
Post a Comment